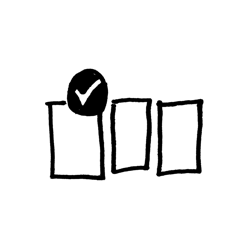
16 UX Design tools from the Sprint Process
The Sprint is a 5-day process to answer critical business questions through design, prototyping, and testing ideas with customers. It was developed at Google Ventures by Jake Knapp, John Zeratsky, Braden Kowitz, and others.
I’ve found The Sprint to be much more than just a 5-day process. In this post, I will break it down into 16 core UX Design tools I took away from it — I find myself making use of these individually in various User Research or Prototyping settings that are not necessarily part of a Sprint.
If you’re already familiar with the Sprint Process, you will find this post useful for referring back when you want to brush up on a particular tool — this is what I personally do in my daily workflow!
Let’s get started.
Day 1: Start at the End, Make a map and Ask the Experts
Tool 1: Start at the End
This is a useful technique for setting goals and defining what you want to get out of the process:
- Set a long-term goal: Start at the end and ask: Why are we doing this project? Where do we want to be in six months, a year, or even five years from now? List the answers.
- List sprint questions: Ask: How could we fail? Turn these fears into questions you could answer this week.
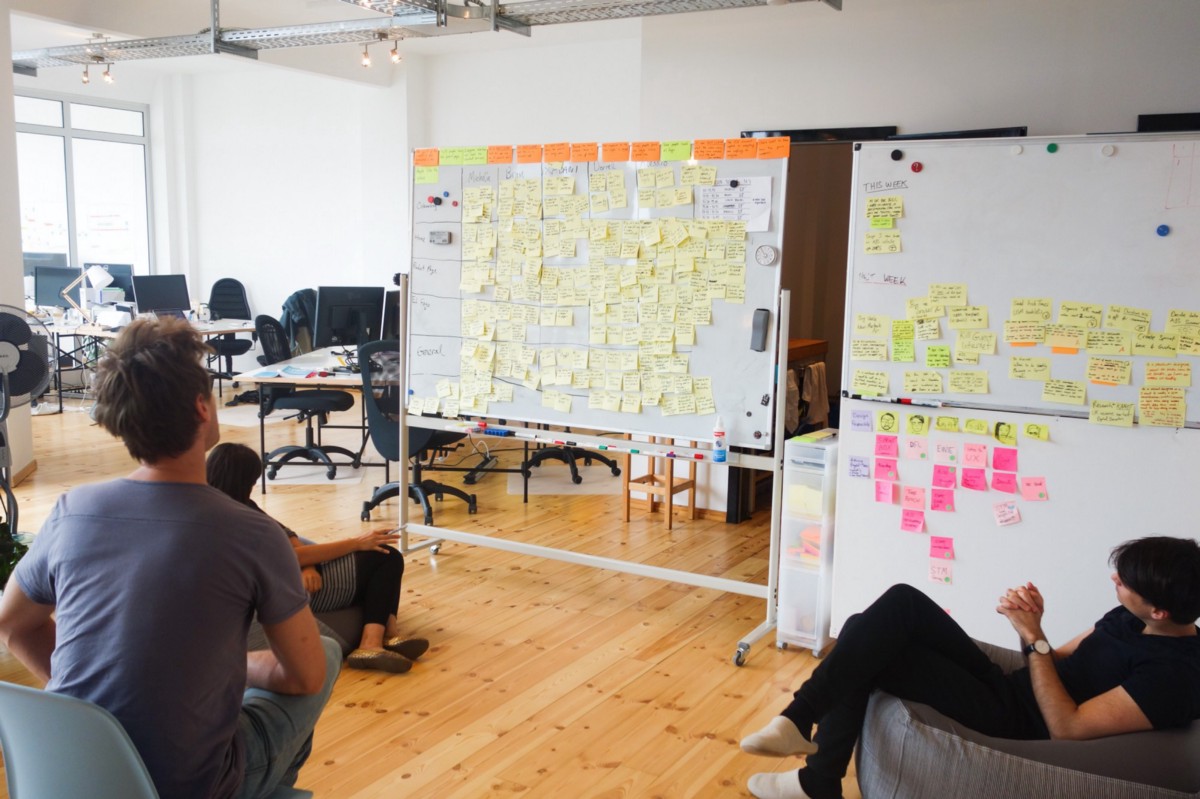
Tool 2: Make a Map
- List customers and key players on the left.
- Draw the ending, with your completed goal, on the right.
- Finally, make a flowchart between showing how customers interact with your product.
- Keep it between 5 to 15 steps
Tool 3: Ask the Experts
- Interview experts on your sprint team and guests from the outside. Aim for fifteen to thirty minutes each.
- Ask about the vision, customer research, how things work, and previous efforts. Pretend you’re a reporter.
Tool 4: Make How Might We (HMW) notes
- Write HMW on top left corner of a sticky note, and reframe the problems you notice while talking to experts as opportunities. Make a stack of all HMW notes.
- Stick HMW notes from everyone onto the wall in any order. Move similar ideas next to one another. Label themes as they emerge. Stop after 10 minutes.
Tool 5: Voting
- Each person gets two votes. You can vote on your own notes, or even on the same note twice. Move winners onto the map.
- Pick a target: Let the Decider pick the most important customer, and one target moment on the map. The team can weigh in, but the Decider makes the call. Life pro-tip: Never go into a project meeting where no one has the clear role of a Decider.
Day 2: Remix & Improve and Sketch
Tool 6: Lightning Demos
The objective here is to look at state-of-the-art solutions to the problem you’re trying to solve, including your own company’s. Three minutes per demo. Capture good ideas with a quick drawing. One of the key ideas here is to Remix and Improve since some of the best innovations build on existing ideas.
Tool 7: The Four-Step Sketch
Anyone can sketch, and everyone in the room will in this Four-Step Sketching exercise:
- Notes: Silently walk around the room and gather notes for 20 minutes
- Ideas: Privately jot down some rough ideas and circle the most promising ones. 20 minutes.
- Crazy 8’s: This is the most fun part of the process. Fold a sheet of paper into 8’s Take one minute per square to sketch a variation of one of your best ideas. Spend one minute per sketch.
- Solution Sketch: Create a three-panel storyboard by sketching in three sticky notes on a sheet of paper. 30–90 minutes. The fundamental idea here is to work alone together: Group brainstorms don’t work — instead, each person takes their own time to develop solutions on their own. Make sure your sketch is Self-explanatory, Anonymous, Ugly is okay, but words matter, and give it a catchy title.
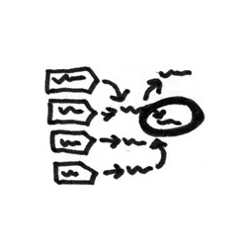
Tool 8: Recruiting Customers for Interviews
- One person should be in charge of recruiting
- Recruit on Craigslist by posting a generic ad that appeals to a broad audience, offers compensation (say a $100 gift card), and links to the screener survey.
- Write a screener survey: Key here is to ask questions that help you identify the target customers, while not revealing what you’re looking for. So if you’re looking for working professionals in their 20s, ask them about their age and what they do, and not if they’re a working professional in their 20s :)
- Recruit customers through your network: If you need experts or existing customers.
- Make sure to follow up with emails and phone calls over the week to make sure five interviewees show up on Day 5.
Day 3: Decide, Rumble, and Storyboard
Tool 9: The Sticky Decision
In the previous section, we looked at the process to sketch solutions. Now that we have a stack of these anonymous solution sketches, it’s time to pick the one to three ideas that the group will prototype. To help us do this, we will follow the following five steps:
- Art museum: Tape the solution sketches to the wall in one long row.
- Heat map: Have each person review the sketches silently and put one to three small dot stickers next to every part they like.
- Speed critique: As a group, discuss the highlights of each solution. Capture standout ideas an[d important objections. In the end, ask the sketcher if the group missed anything. 3 minutes per sketch.
- Straw poll: Each person silently chooses a favorite idea. All at once, each person places one large dot sticker to register his or her (nonbinding) vote.
- Supervote: Give the Decider three large dot stickers and write her initials on the sticker. Explain that you’ll prototype and test the solutions the Decider chooses.
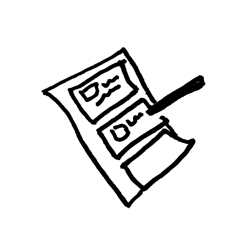
Tool 10: Note-and-vote
Use this technique whenever you need to quickly gather ideas from the group and narrow down to a decision. Ask people to write ideas individually, then list them on a whiteboard, vote using small dot stickers, and let the Decider pick the winner.
Tool 11: Make a storyboard
To plan your prototype:
- Draw a grid: About fifteen square on a whiteboard.
- Choose an opening scene: how your customers usually encounter your product or service. Keep it simple (like a Google search, Facebook ad, content on the blog, etc.)
- Fill out the storyboard: Move existing sketches to the storyboard whenever you can. Include just enough detail to help the team prototype next day. The finished story should have five to fifteen steps.
Day 4: Prototype
Tool 12: Rapid Prototyping:
- Pick the right tools: Use the tools that are rough, fast and flexible. Tools you use every day optimize for quality. We aim to create a prototype with just enough quality to evoke honest reactions from customers.
- Assign roles: Maker, Stitcher, Writer, Asset Collector, and Interviewer. You can also break the storyboard into smaller scenes and assign each to different team members.
- Once individual scenes are prototyped, the Stitcher checks for quality and ensures all the pieces make sense together.
- Do a trial run and look for mistakes. Make sure the Interviewer sees it and is ready with the interview script, and has reminded interviewees to come in the next day and has gift cards ready to be given.
- The key idea here is that anything can be prototyped within a day by a team, and prototypes are meant to be disposable. They are built just enough to learn, but not more. It should appear real to evoke an honest reaction from the interviewee.
Day 5: Test and Learn
Tool 13: Setup a Makeshift Research Lab
- Book two rooms: the sprint room where the team will watch a live video feed of the interview, and a separate smaller room for the actual interviews.
- Set up a video stream of a webcam pointed to the customer, a microphone, and if you’re testing on an iPhone/iPad or a digital device, then a document camera.
Tool 14: Conduct the Usability Interview in the Interview Room
- Explain you’re looking for candid feedback. After a friendly welcome, start with easy small talk, then move on to questions about the topics you’re trying to learn.
- Remind the customer that some things may not work and that they are not being tested here. Ask them to think aloud, and watch them figure out the prototype on their own. Ask follow-up questions to help them think aloud.
- Ask questions that prompt the customer to summarize.
- Five interviews are enough. After five customer interviews, the significant patterns will emerge.
Tool 15: Observe interviews in the Sprint Room
- Before the first interview, draw a grid on the whiteboard — a column for each customer, and a row for each prototype or section of a prototype.
- During each interview, take notes as you watch. Write down direct quotes, observations, and interpretations. Indicate whether that’s positive or negative.
- After each interview, stick up the notes on the whiteboard grid. Briefly discuss the interview, but don’t draw conclusions yet.
- Don’t’ disband the sprint team. Watch all five interviews together.
Tool 16: User Interview Debrief
- Look for patterns and make a list of all the trends the team noticed. Label them as positive, negative or neutral.
- Review your long-term goal and the sprint questions, and decide how to follow-up after the sprint. Write it down.
- A winner every time: Your prototype might be an efficient failure or a flawed success. In every case, you’ll learn what you need for the next step.
I hope that going through this post has probably given you a concrete set of tools from the Sprint process. In a small team or startup, where it’s just not possible to drop everything to run a 5-day sprint, I find myself using some of these tools over and over again.
If you found this useful, it might be a good idea to read the entire process in detail with lots of examples in The Sprint Book by Jake Knapp with John Zeratsky and Braden Kowitz.
You can also check out my other posts on UX Research, Rapid Prototyping, or Usability Testing. Thanks for reading!

Thanks for reading this quick guide. This was originally published as part of the UX Design course on Commonlounge. You learn by working on real-world projects and getting feedback from industry mentors.